Homekit through Homebridge
This will not be a copy - paste guide, but a fluid post on the HomeKit-project I have running in our home. Warning: I am neither a coder, or a developer, but I have gotten used to JSON through many config-failures. I just try to make sense of the logic behind it, and try out for my self. Read this as an inspiration, and not a step by step guide.

Background
Homekit as you know, is the smarthome solution in the Apple environment. Homebridge however, is the swiss-army knife when it comes to do a smarthome on budget. When we bought our house, I started out small, and it suddenly became a small hobby of mine. Now, it is really easy to add new rooms, types and sensors to populate the current environment.
So if you got a Raspberry Pi and want to start working on your smarthome setup, this project page could be of some inspiration or a demo of the projects currently running in our home. So let’s assume, you’ve followed these steps and got it running.
Order of things
When working with HomeKit and Homebridge, its a difference between a plugins, gateway, plattform and an accessory. To understand the level of these terms, makes it easier to build your smarthome agile. The definitions however is not necessary correct, but might give some guidance.
Plugins is the core of Homebridge. Everything is connected through it, and it enables you to connect to either a gateway, platform or accessory.
Gateway is a piece of hardware that enables you to add a new dimensions of accessories. Typical gateways are Z-wave home center controllers, Ikea Tradfri main unit, Telldus Tellstick Philips Hue Bridge etc.
Plattforms is Homebridge way of connecting to gateways, or other systems that your are using day to day. It could be your Tesla, Samsung TV, Alarm system or Sonos system. These are connected systems with more than one unit to control. The plugin will be expose the system in different ways, based on the purpose of the system. Could be a fan for the AC in the car, door sensor from the alarm system or switches to turn sound on and off on a speaker.
Accessories is (often) used for one unit. This could be used to connect to other RPIs, garage doors, AC, vacuum robots. Will expose that sole unit and is configured through the plugin.
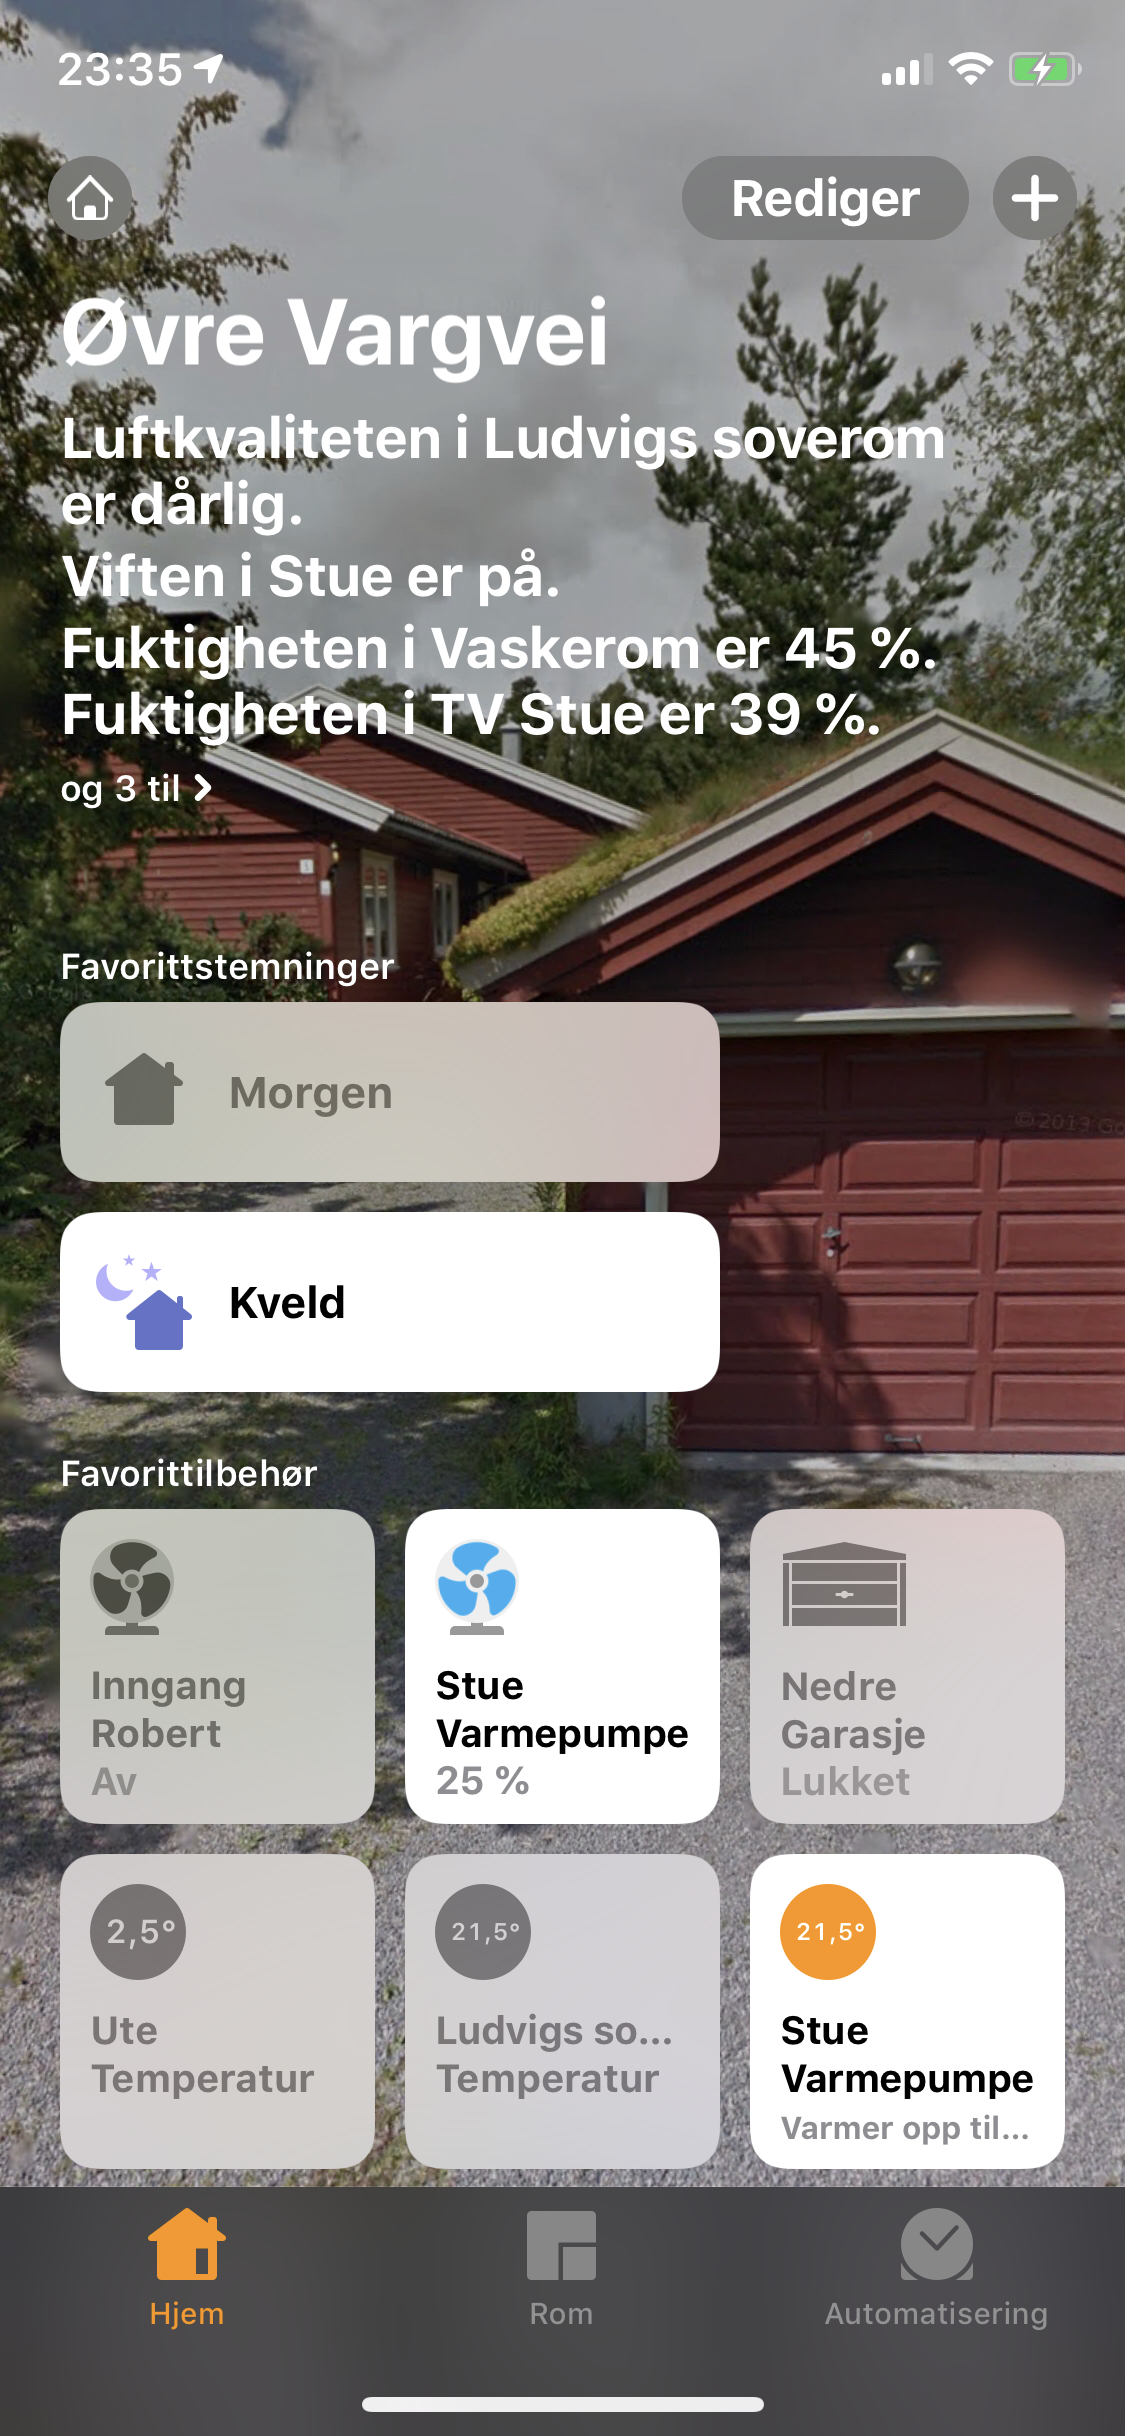
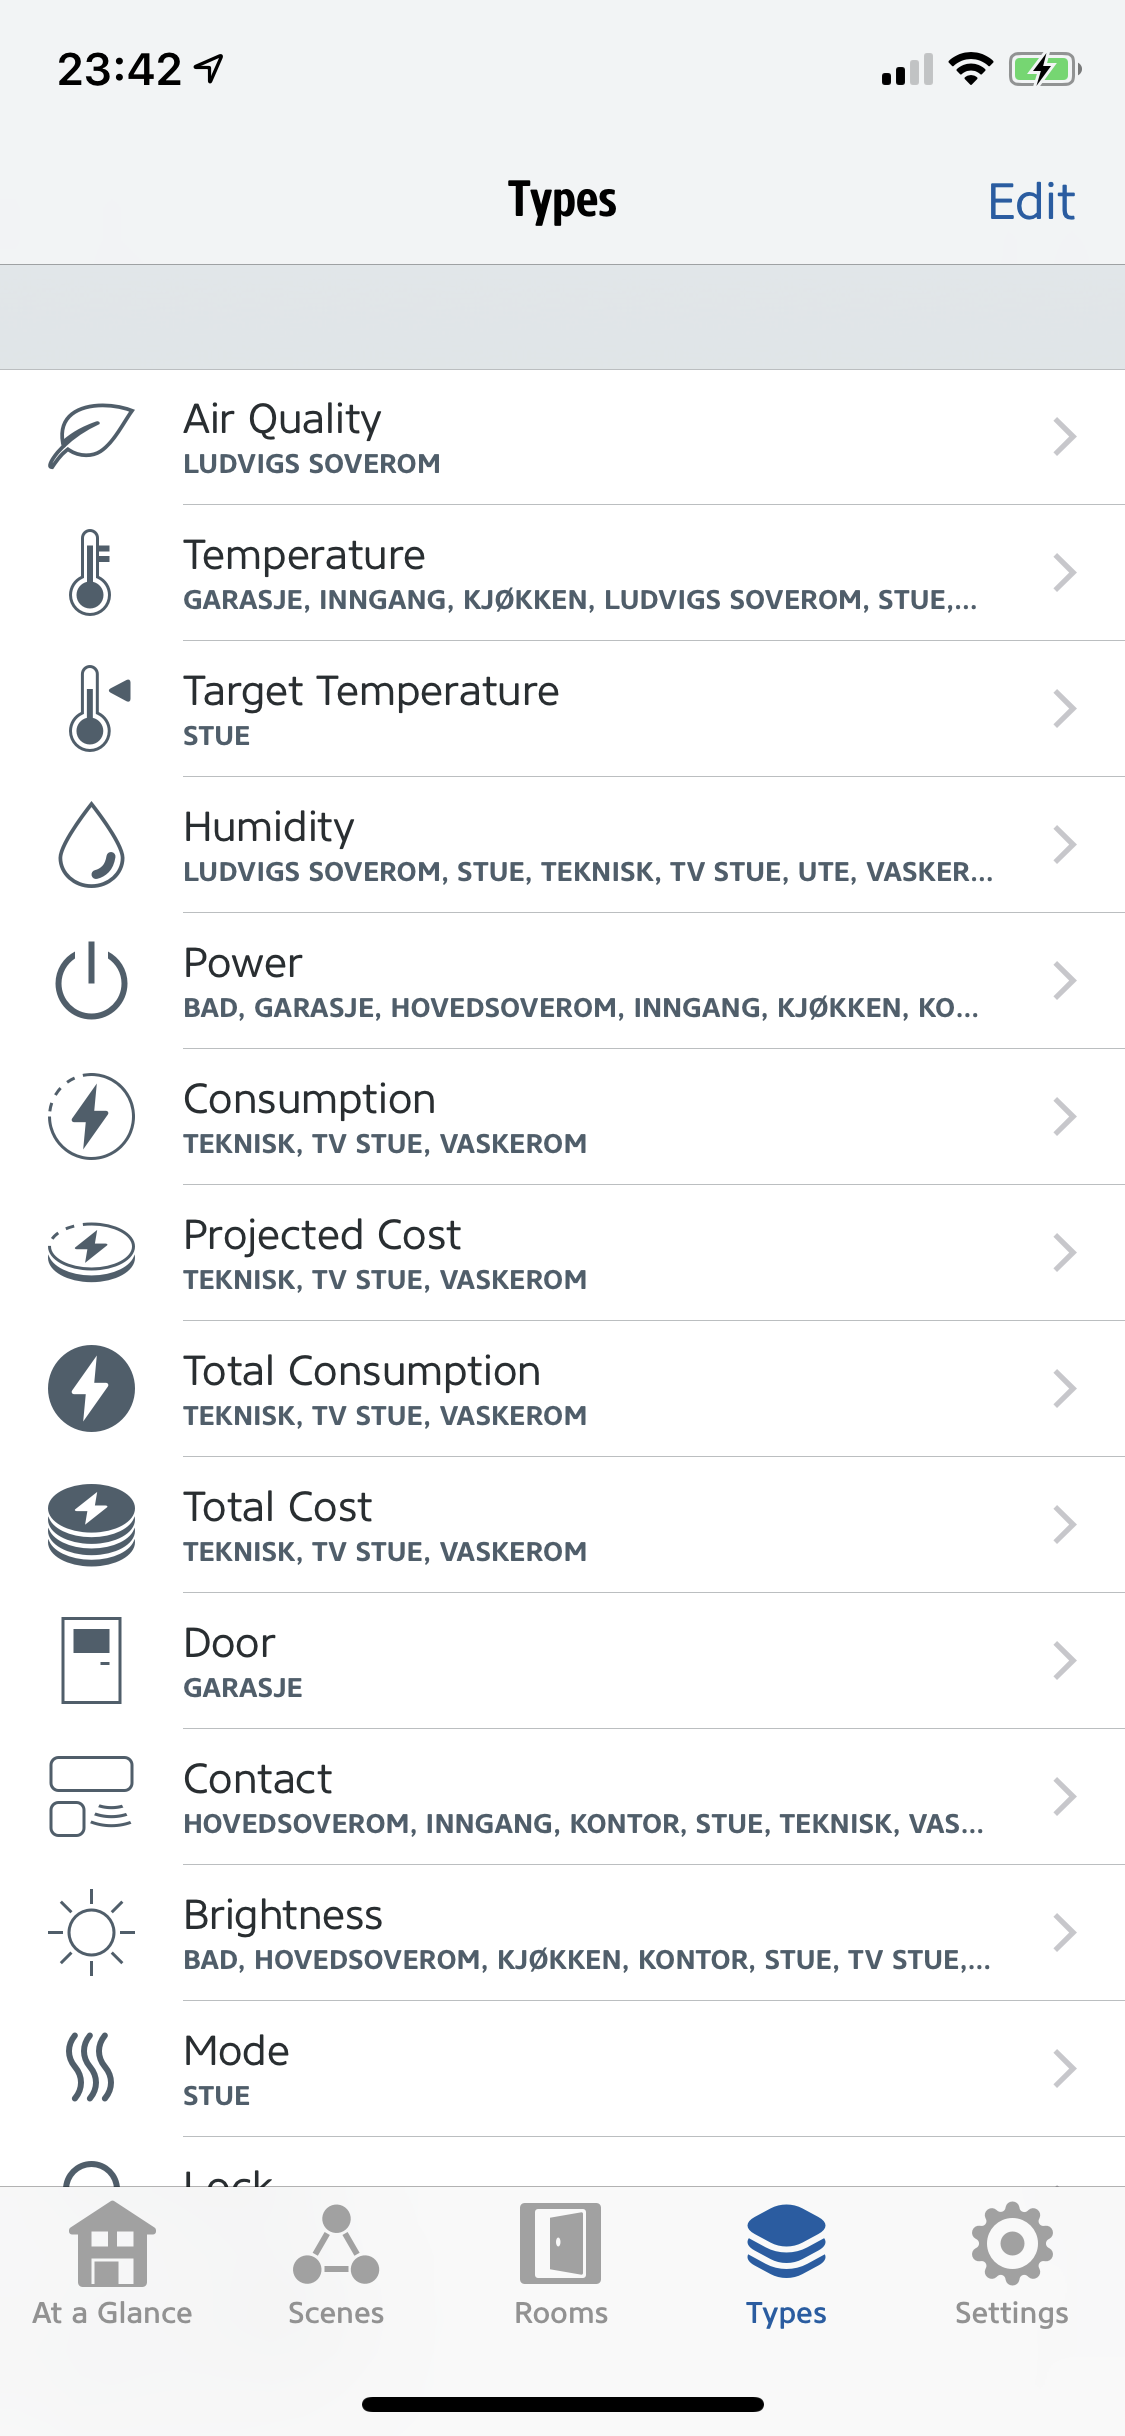
And to get the most out of your system, the Home app from Apple is fairly limited when it comes to rules and automation. But day to day, with Siri and Apple Shortcuts, it’s pretty good. It also support cameras, if you are to add in video doorbells or security cameras in either your garage or household. But to setup the system and get going in automation, I strongly recommend the Eve app from Elgato.
The automation system
The system is divided into into seven parts. However, there are more possibilities, but they are not really working properly yet. I am thinking of sharing my experience with the following projects.
Lights — easy to start of with, rather simple to implement
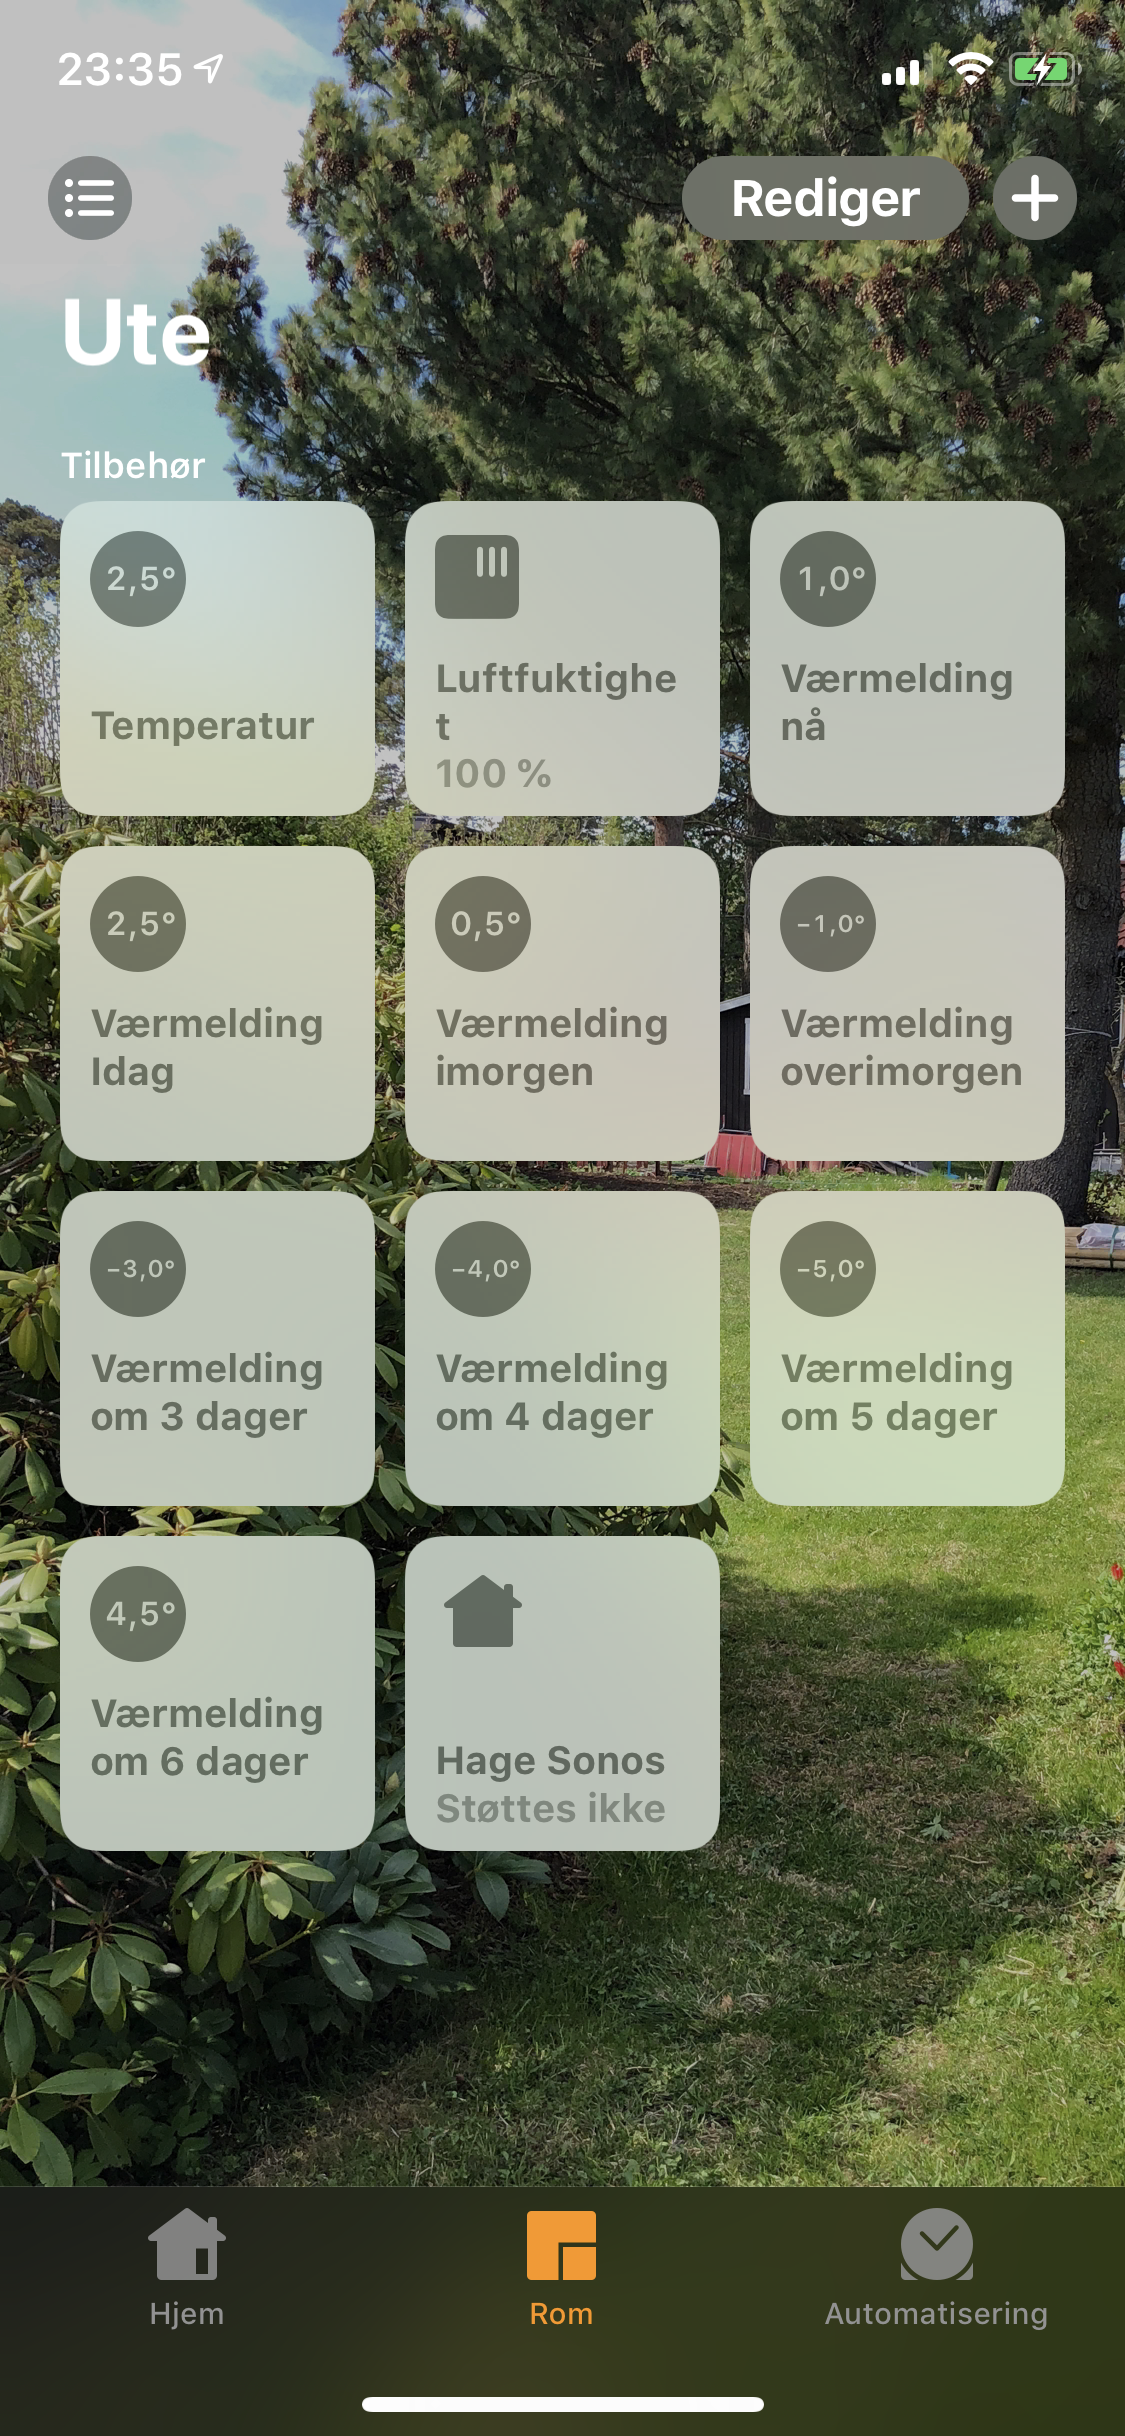
Temperature — Get some weather data and sensor data into your system fairly simple
Door and windows — Get an integration with your
Heating — Control the AC based on your behavior and presens.
Cleaning — Let vacuum robot clean when you are leaving for work.
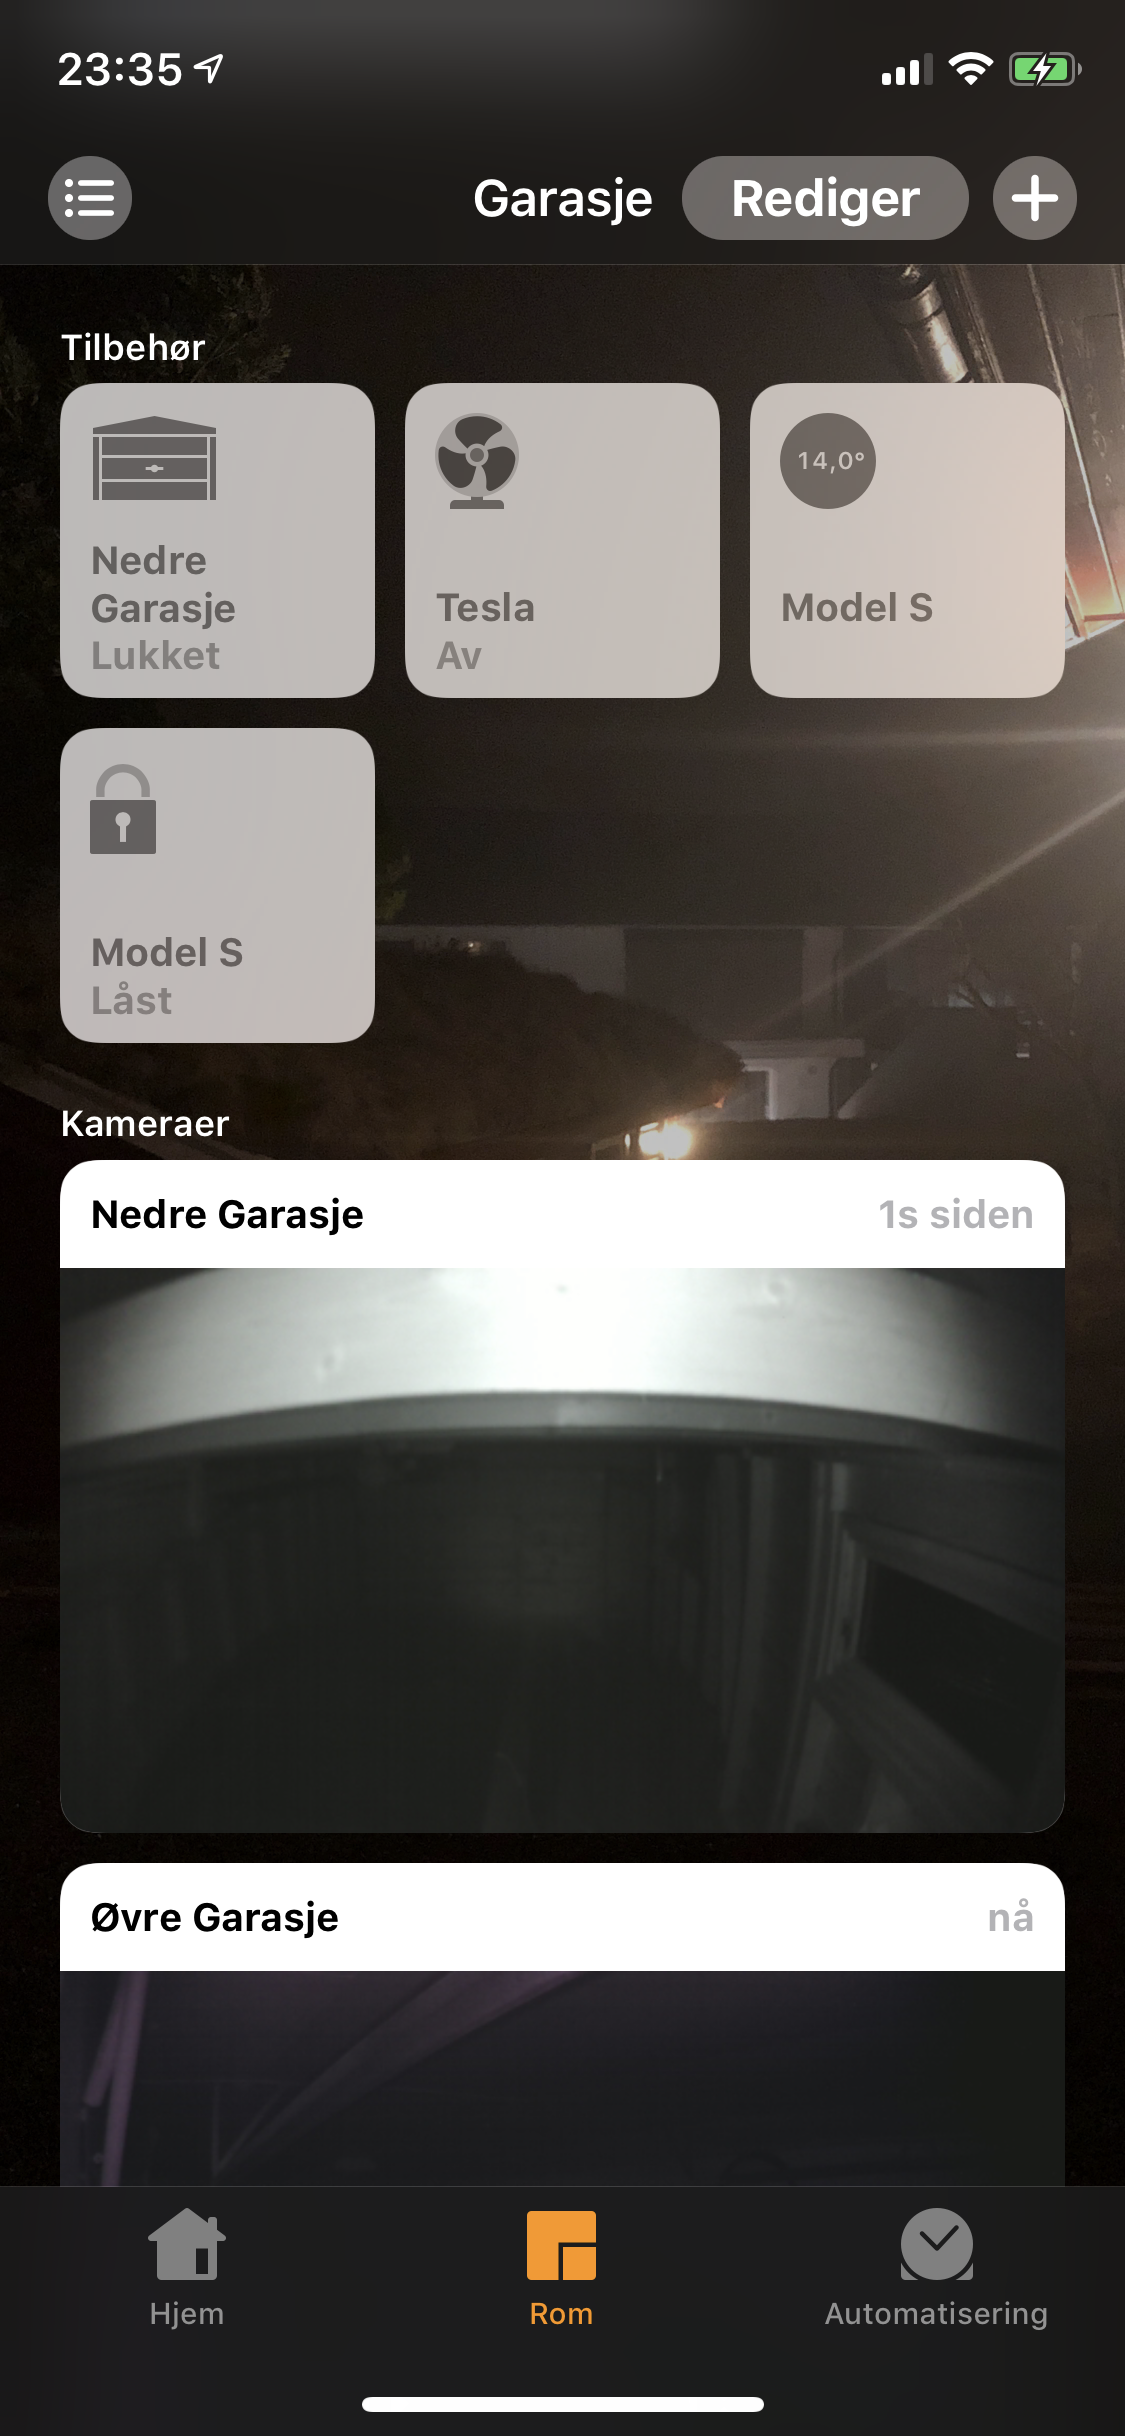
Garage doors — Toggle them to open, view the activity inside and for those how don’t have Homelink in the car, get a notification to open it once your are leaving or arriving home.
Cars — Let your home control when to heat your car, based on your behavior.
Irrigation — Water based on soil, weather and forecast.
Not so smart part of the system
I have some troubles, due to bad decision making, ended up with some piece of hardware for the irrigation in the garden. For the coming spring, I am considering of changing out the so poorly and slow developed Bhyve Hose Faucet, to the Eve Aqua solution.
So let’s see which of the project that will get the first walk-trough.
—
JE.